
Can we get a machine to throw a ball with good precision? That’s the challenge we’re facing in this blog post. I gave it a shot. In this post, I go through the building process and describe what I ended up with.
So what did we end up with? Here’s a YouTube video of the finished project.
What Motor Fits the job best?
I started with a stepper motor. Because precision, right? Even though stepper motors are prone to stuttery movements at low rpms, the rotating motion gets smoother and smoother as we increase the speed. At higher rpms, stepper motors deliver smooth and precise motion (about 1.8° per step is a common measure.) And if we got a driver capable of doing micro steps – like the ever so famous and equally powerful A4988, for instance – both precision and smoothness get another boost.
Well, the precision part sounds promising, but exactly how fast can we spin that shaft? Not fast enough – it turns out (at least with the specific NEMA17 stepper motors I used.) If you ever played around with stepper motors you probably know exactly what’s the matter; Stepper motors lose torque the faster they spin. the rpms are inversely proportional to the output torque on the shaft. So throwing a ping pong ball with stepper motors didn’t seem promising.
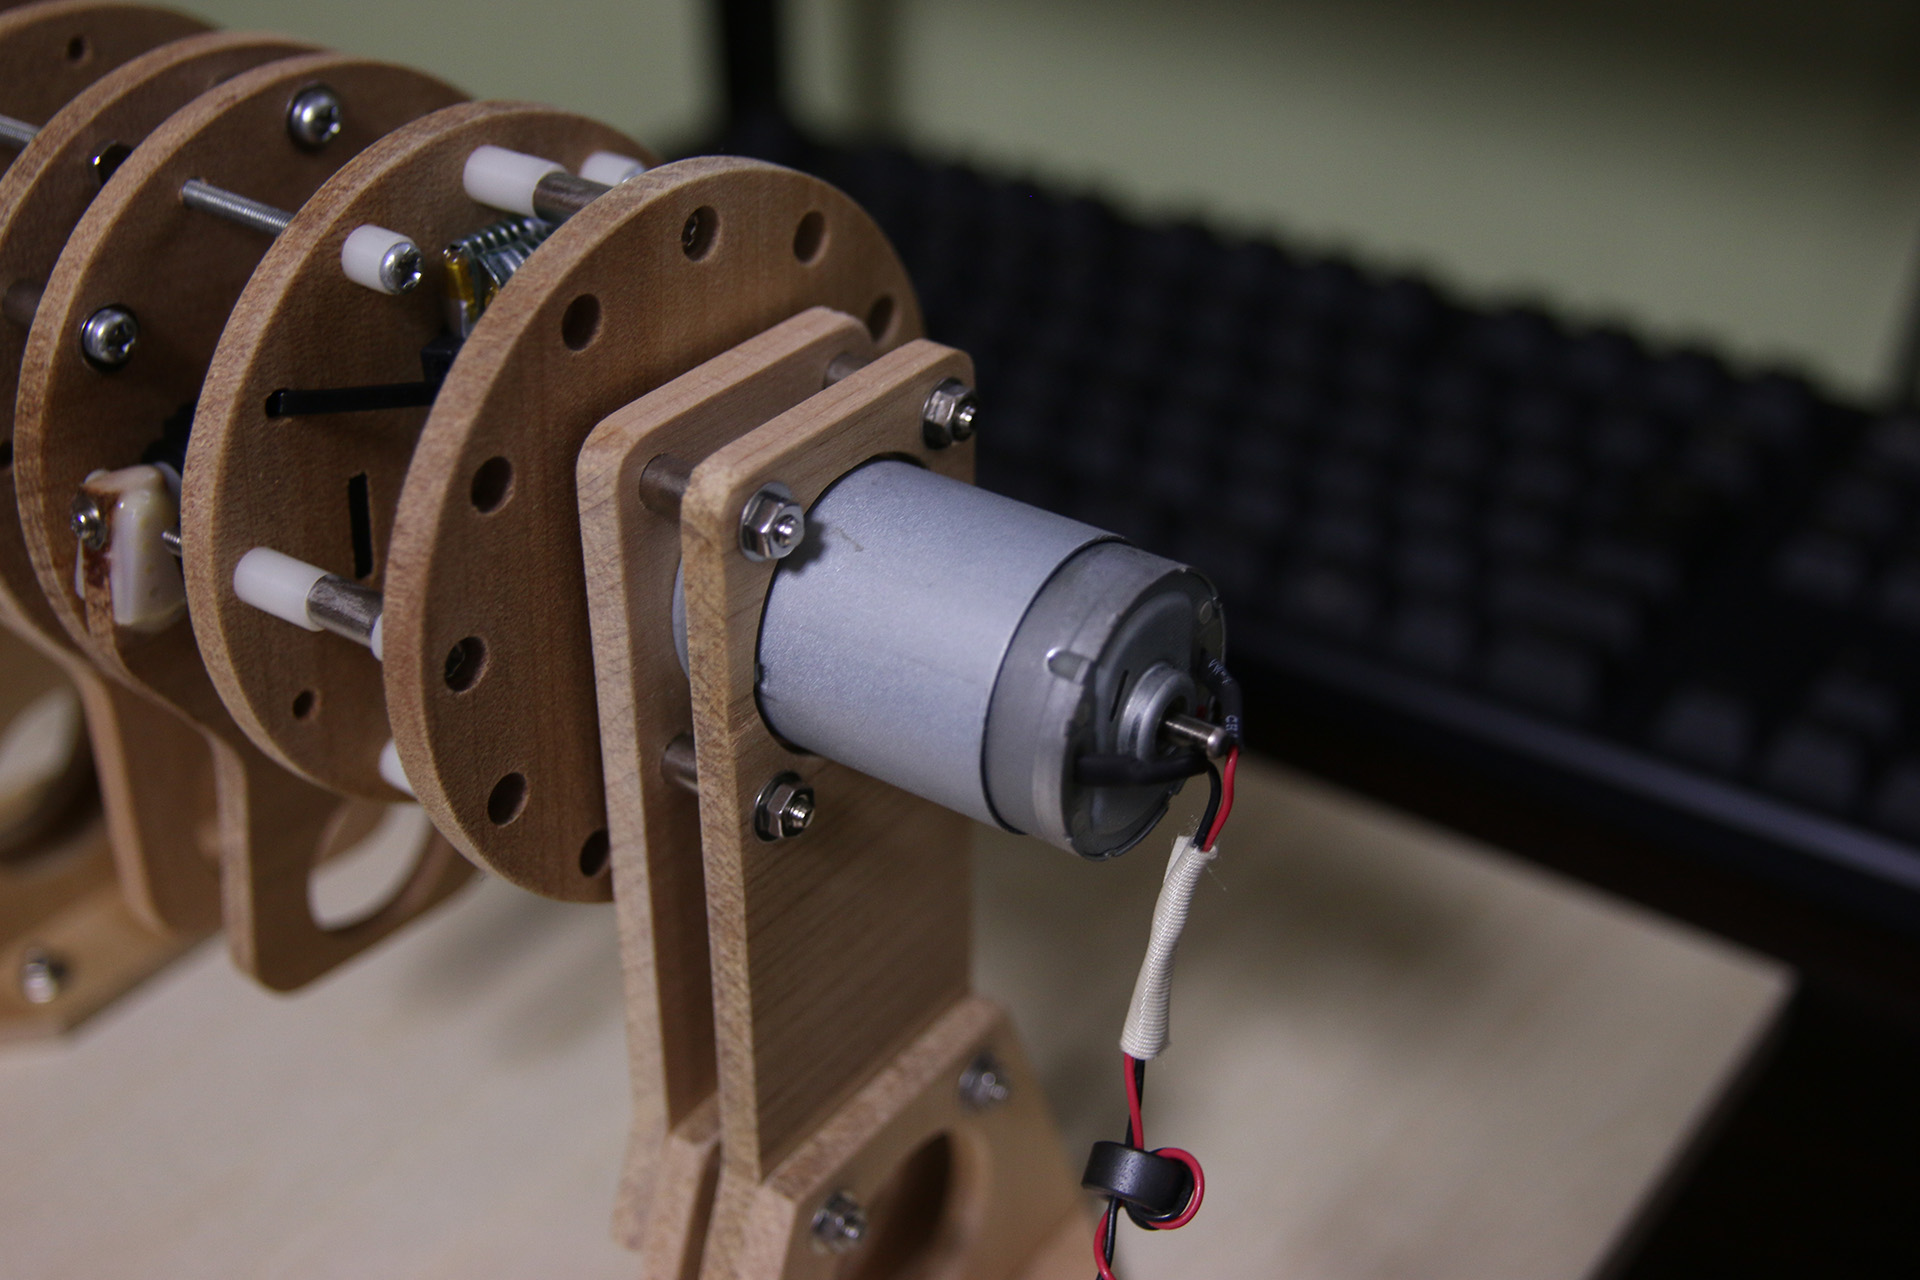
What about DC motors? Yeah, why not? DC motors go fast alright. But now we need to worry about the precision part. With stepper motors, we know where the motor is supposed to be after, say, 1500 steps. Out of the box, DC motors usually will not come with any position feedback. We could buy a DC motor with a rotary encoder attached. But I had 2 perfectly fine printer DC motors laying around, so why not use them. As for the position feedback: We do not even need to know the precise axial rotation of the shaft at any moment in time. All we need to know is when to release the ball; We just need to know when the shaft is passing through the point of release.
The Point Of Release
The only time we care about the rotational position of the motor shaft is when it passes the point where we want to release the ball. We want to release the ball at exactly the same position every time, that’s why we care about this point. I ended up using a photo-transistor paired up with a white LED.
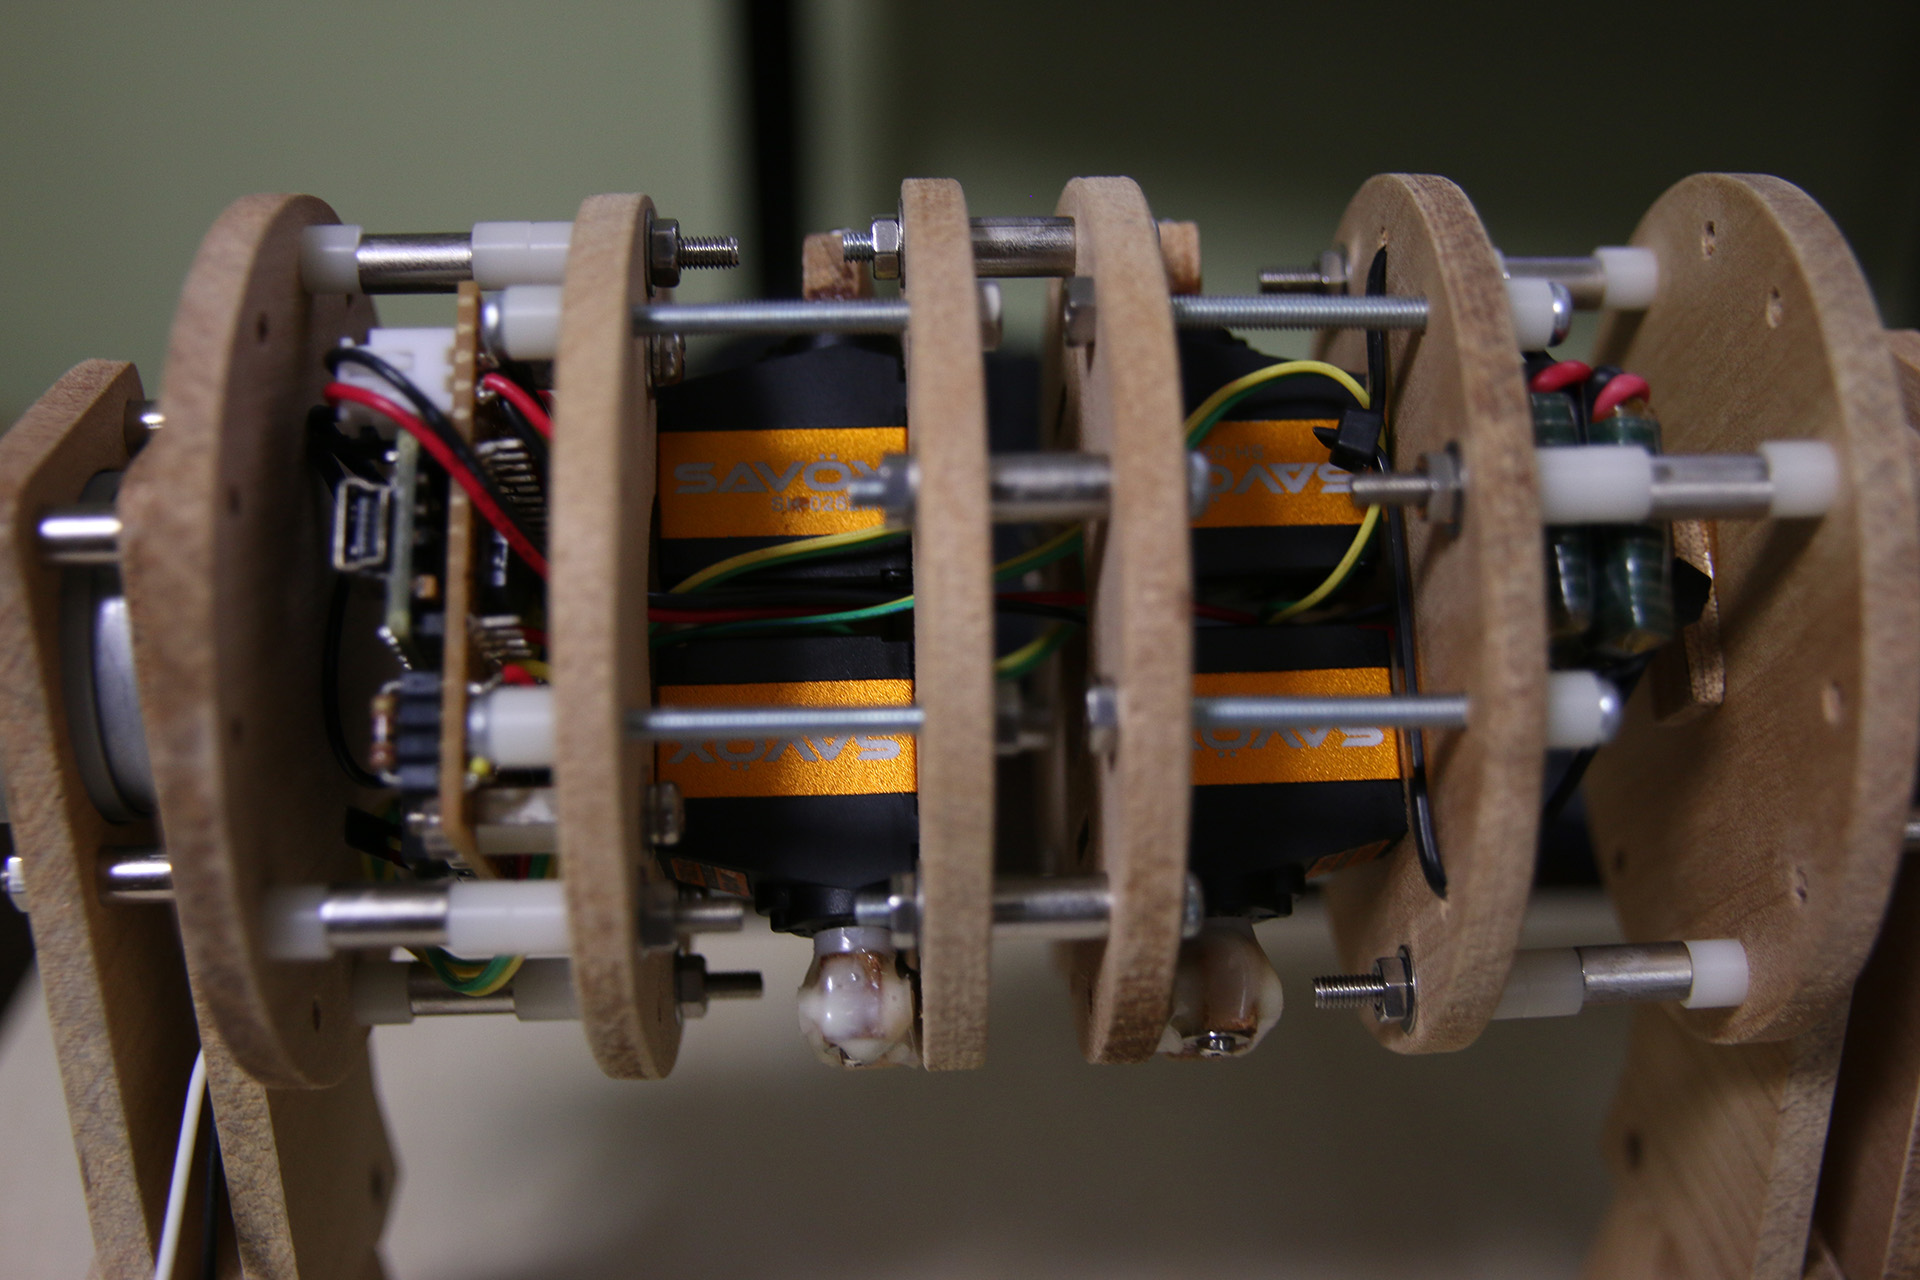
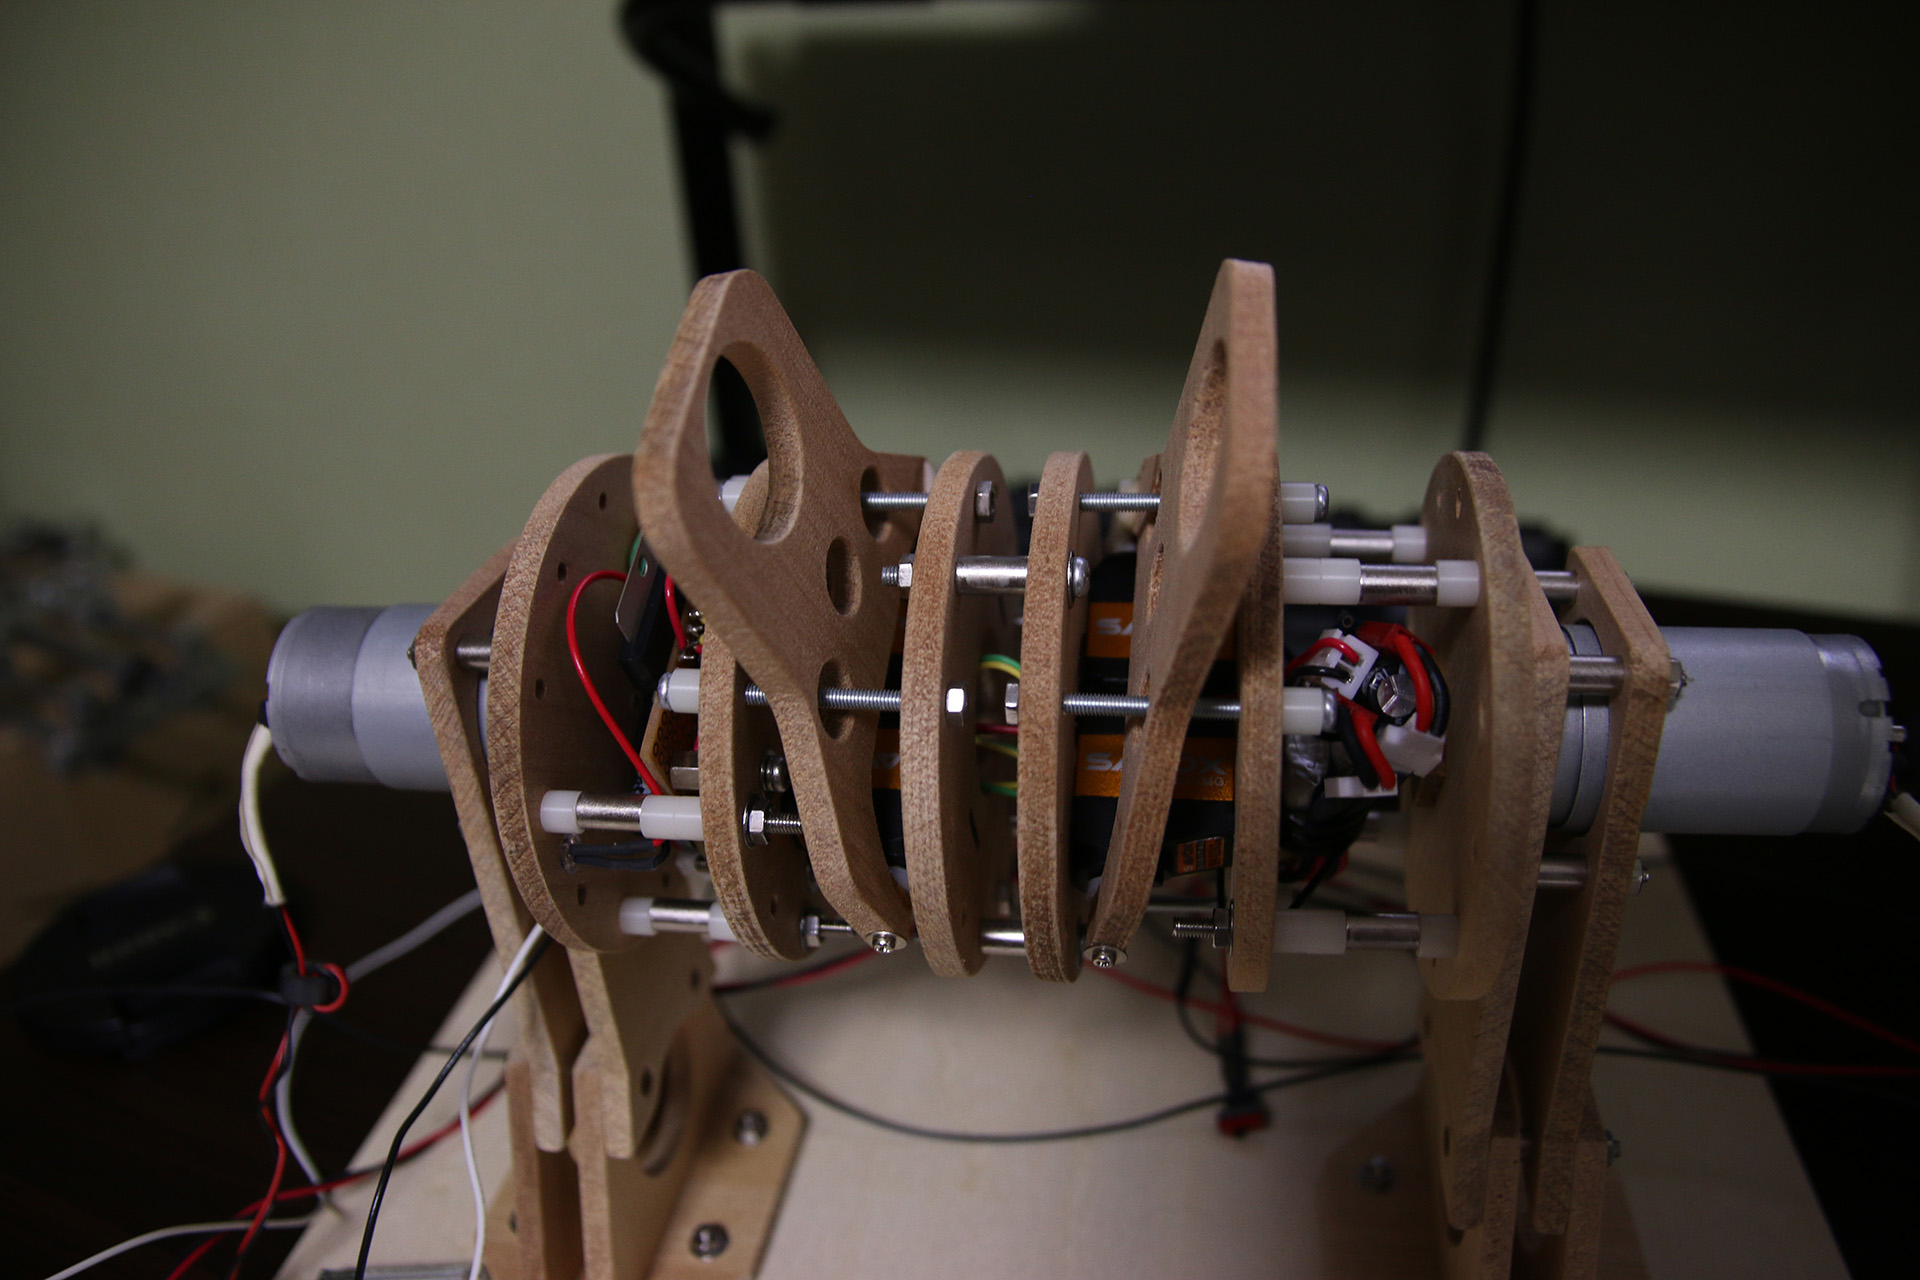
The photo-transistor is placed on one of the outer rings of the moving middle part of the machine. There are also batteries, an Arduino Nano, and multiple servos placed on the rotating construction.
I programmed the Arduino in such a way that it counts the rotations of the construction using the input of the photo-transistor. It releases the ball after exactly 50 rotations. Why 50 rotations? Because it takes a while until the DC motors reach their end-speed. We can be certain that the rotational speed of the motors is constant after 50 rotations. The constant speed is important because we want our shots to be as reproducible – and therefore precise – as possible.
The Ball Release Mechanism
In order to throw the ping pong ball accurately, knowing when the rotating construction passes the point of release is important, but just as important is the release mechanism of the ping pong ball.
Getting this part right is crucial. Here are some criteria the ball releasing mechanism should fulfill:
- Hold the ball firmly while building up inertia
- Release the ball swiftly and without nudging it to either side
- The release timing needs to be on point
Considering all these points I decided to go with a modified servo approach. The servos I used are Savöx SH0662. These Servos are quite fast and they support PWM frequencies as high as 330Hz. The higher this PWM frequency is the better. Because remember, this thing needs to react fast. Timing is key. So much so, that even 330Hz isn’t fast enough, it turns out. How can we improve the servos reaction time? Well, one way is to just bypass the servos built-in controlling circuit and interface the DC motor directly with a driver chip. Doing this we lose the servos ability to know it’s current position, but we do not really need that anyway since the servo will only have to do two things:
- Apply torque to hold the ball in place while building up inertia
- Release the ball with a quick motion
The power source (batteries) ended up adding up to 7.2V, which is quite a lot. In order to not overwork the motors, I used a PWM signal to switch the driving current On/Off in fast succession. The servo’s DC motors get fed with a PWM modified current while holding the ball in place (using the full 7.2V would be bad both for the servo’s gear and the wooden construction. Too much torque!) When releasing the ball, the driver chip supplies the motors with the full 7.2V – in the other direction – for a short amount of time to ensure that the opening motion is swift.
Code
The complete code for this project is available here.
My friend and I want to build this! Do you have the schematics/circuit diagrams necessary available?
We want to learn how exactly it works and how we can modify the original design. I would really appreciate it
To go more in detail, we want to make a machine that locates the position of the glass with a pressure sensor and adjusts the orientation of your design (using a pivoting surface) to adjust the ball’s trajectory.
With your help we would just need to create the pivoting surface and do the required calculations and code
There are no schematics/circuit diagrams, but here’s the code for this project:
https://github.com/T-Kuhn/TrickShotMachine
This was really interesting to read! I love the range of post, there is really something for everyone. Thank you for sharing your suggestions too, great post!
Hi guys, it’s Adnan Underwood here!
I work as an academic writer and have created this content with the intent of changing your life for the better. I started honing my writing talent in college. I learned that my fellow students needed writing help—and they were willing to pay for it. The money was enough to help pay my tuition for my remaining semesters of college.
Ever since college, I have continued to work as an academic writer. I was hired by a writing service based in the United Kingdom. Since then, the research papers that I have written have been sold around Europe and the United States.
In my line of work, I have become familiar with hearing, “Adnan Underwood, can you help me meet my writing assignment deadline?” I know that I can provide this service.
Professional Writer – Adnan – Write My Essay For Me, Please! – These Websites Will Help Corp